If you are trying to install and try Jupyter Notebook for .Net (C#), you will see a lot of install instructions for the .Net Core 3.1.2 with dotnet-try command. .Net Core 3.1.2 is out of support. I had the same issue here and in this post, I am trying to document how to get Jupyter Notebook on my Windows machine to work with .Net code support.
Install .Net Core Runtime
Get the latest version of .Net Core installed from https://dotnet.microsoft.com/en-us/download. The version as of this writing is .Net 8.0

Install dotnet-interactive
Next, open up a terminal window and run the command below to install dotnet-interactive. You will receive a successfully installed message.
dotnet tool install --global Microsoft.dotnet-interactive

Install Jupyter
In the terminal window issue the following command
dotnet-interactive jupyter install

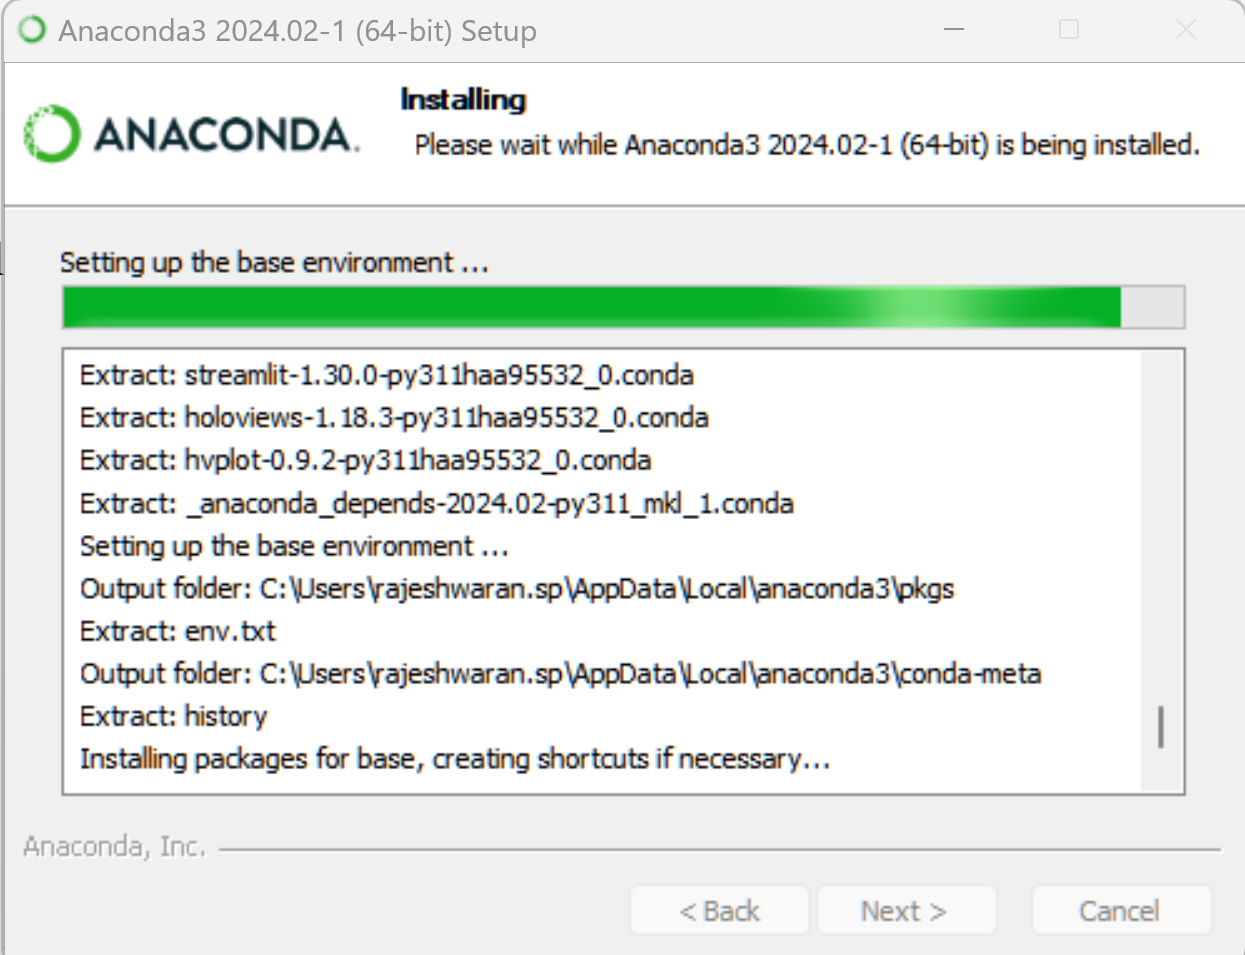
Download and Install Anaconda
This is required to run the Jupyter kernel. https://www.anaconda.com/download#
Open Anaconda Prompt from the Start Menu. You can try the .Net CSharp for Jupyter by issuing the following command in the Anaconda prompt
jupyter kernelspec list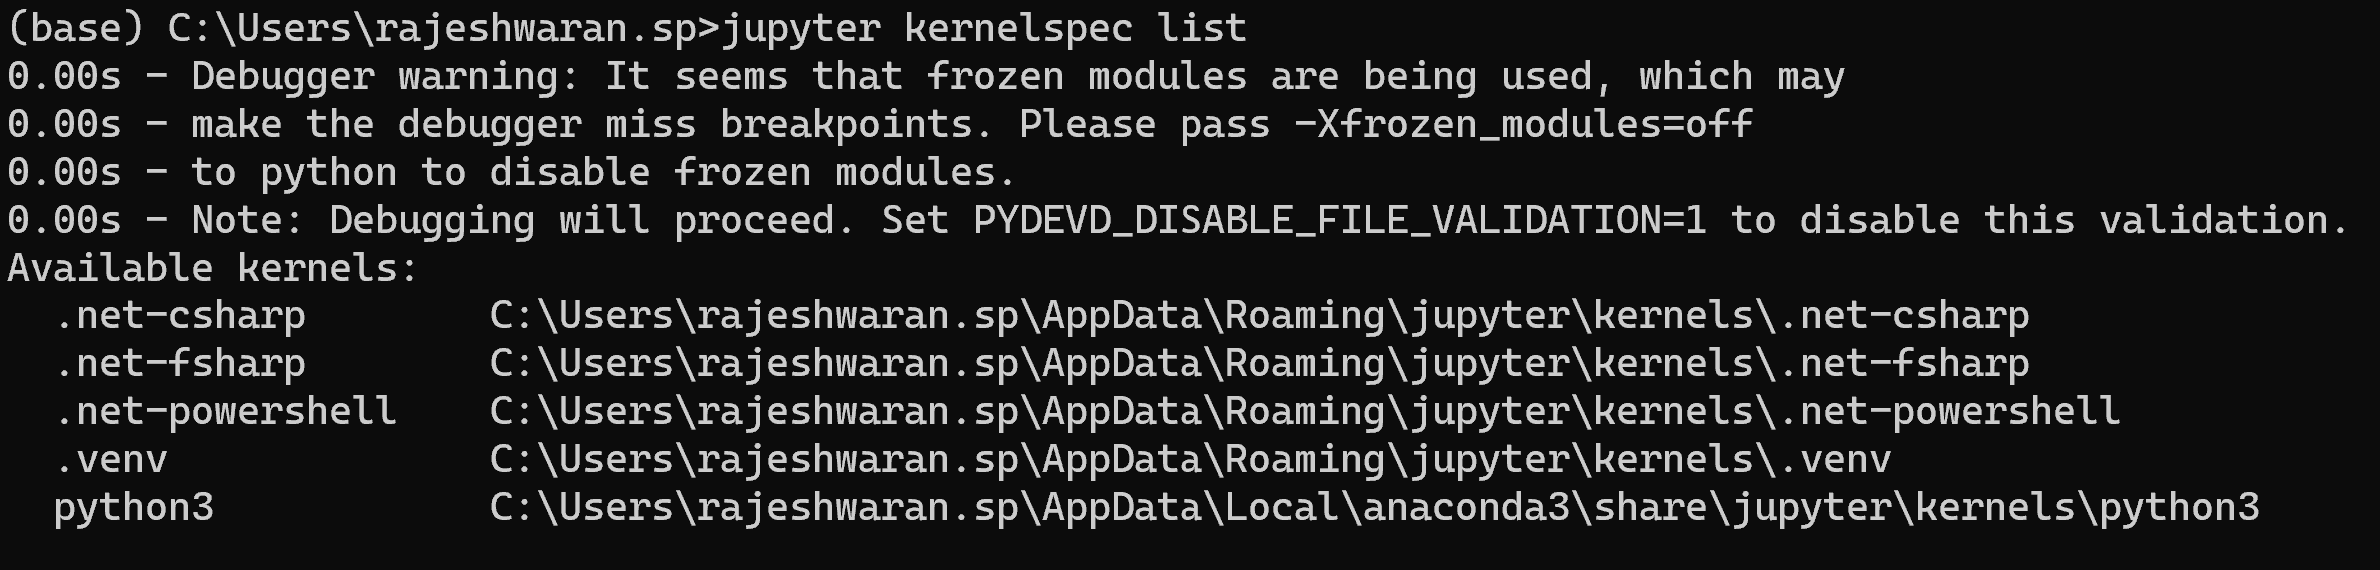
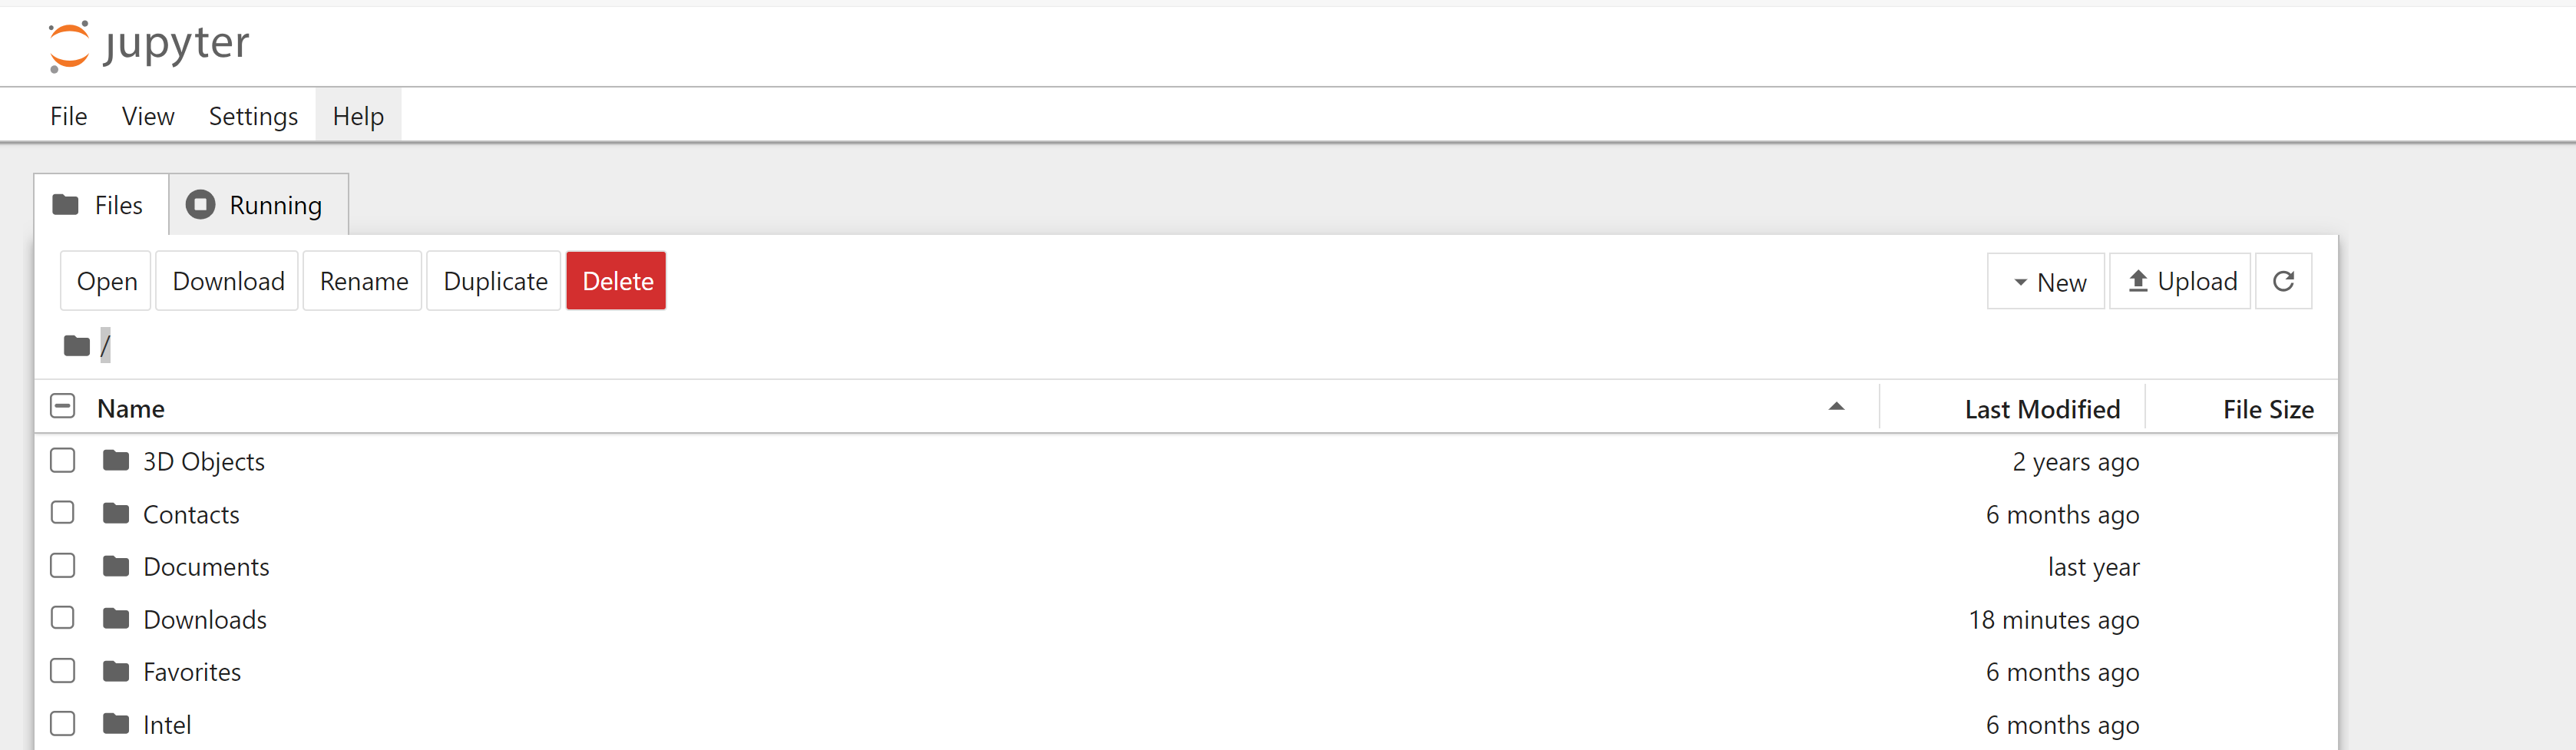
Now execute the following command to start a new notebook. This will start a browser instance with a new jupyter notebook web version interface.
jupyter notebookClick on the ‘New’ button on the right top corner to create a new notebook.
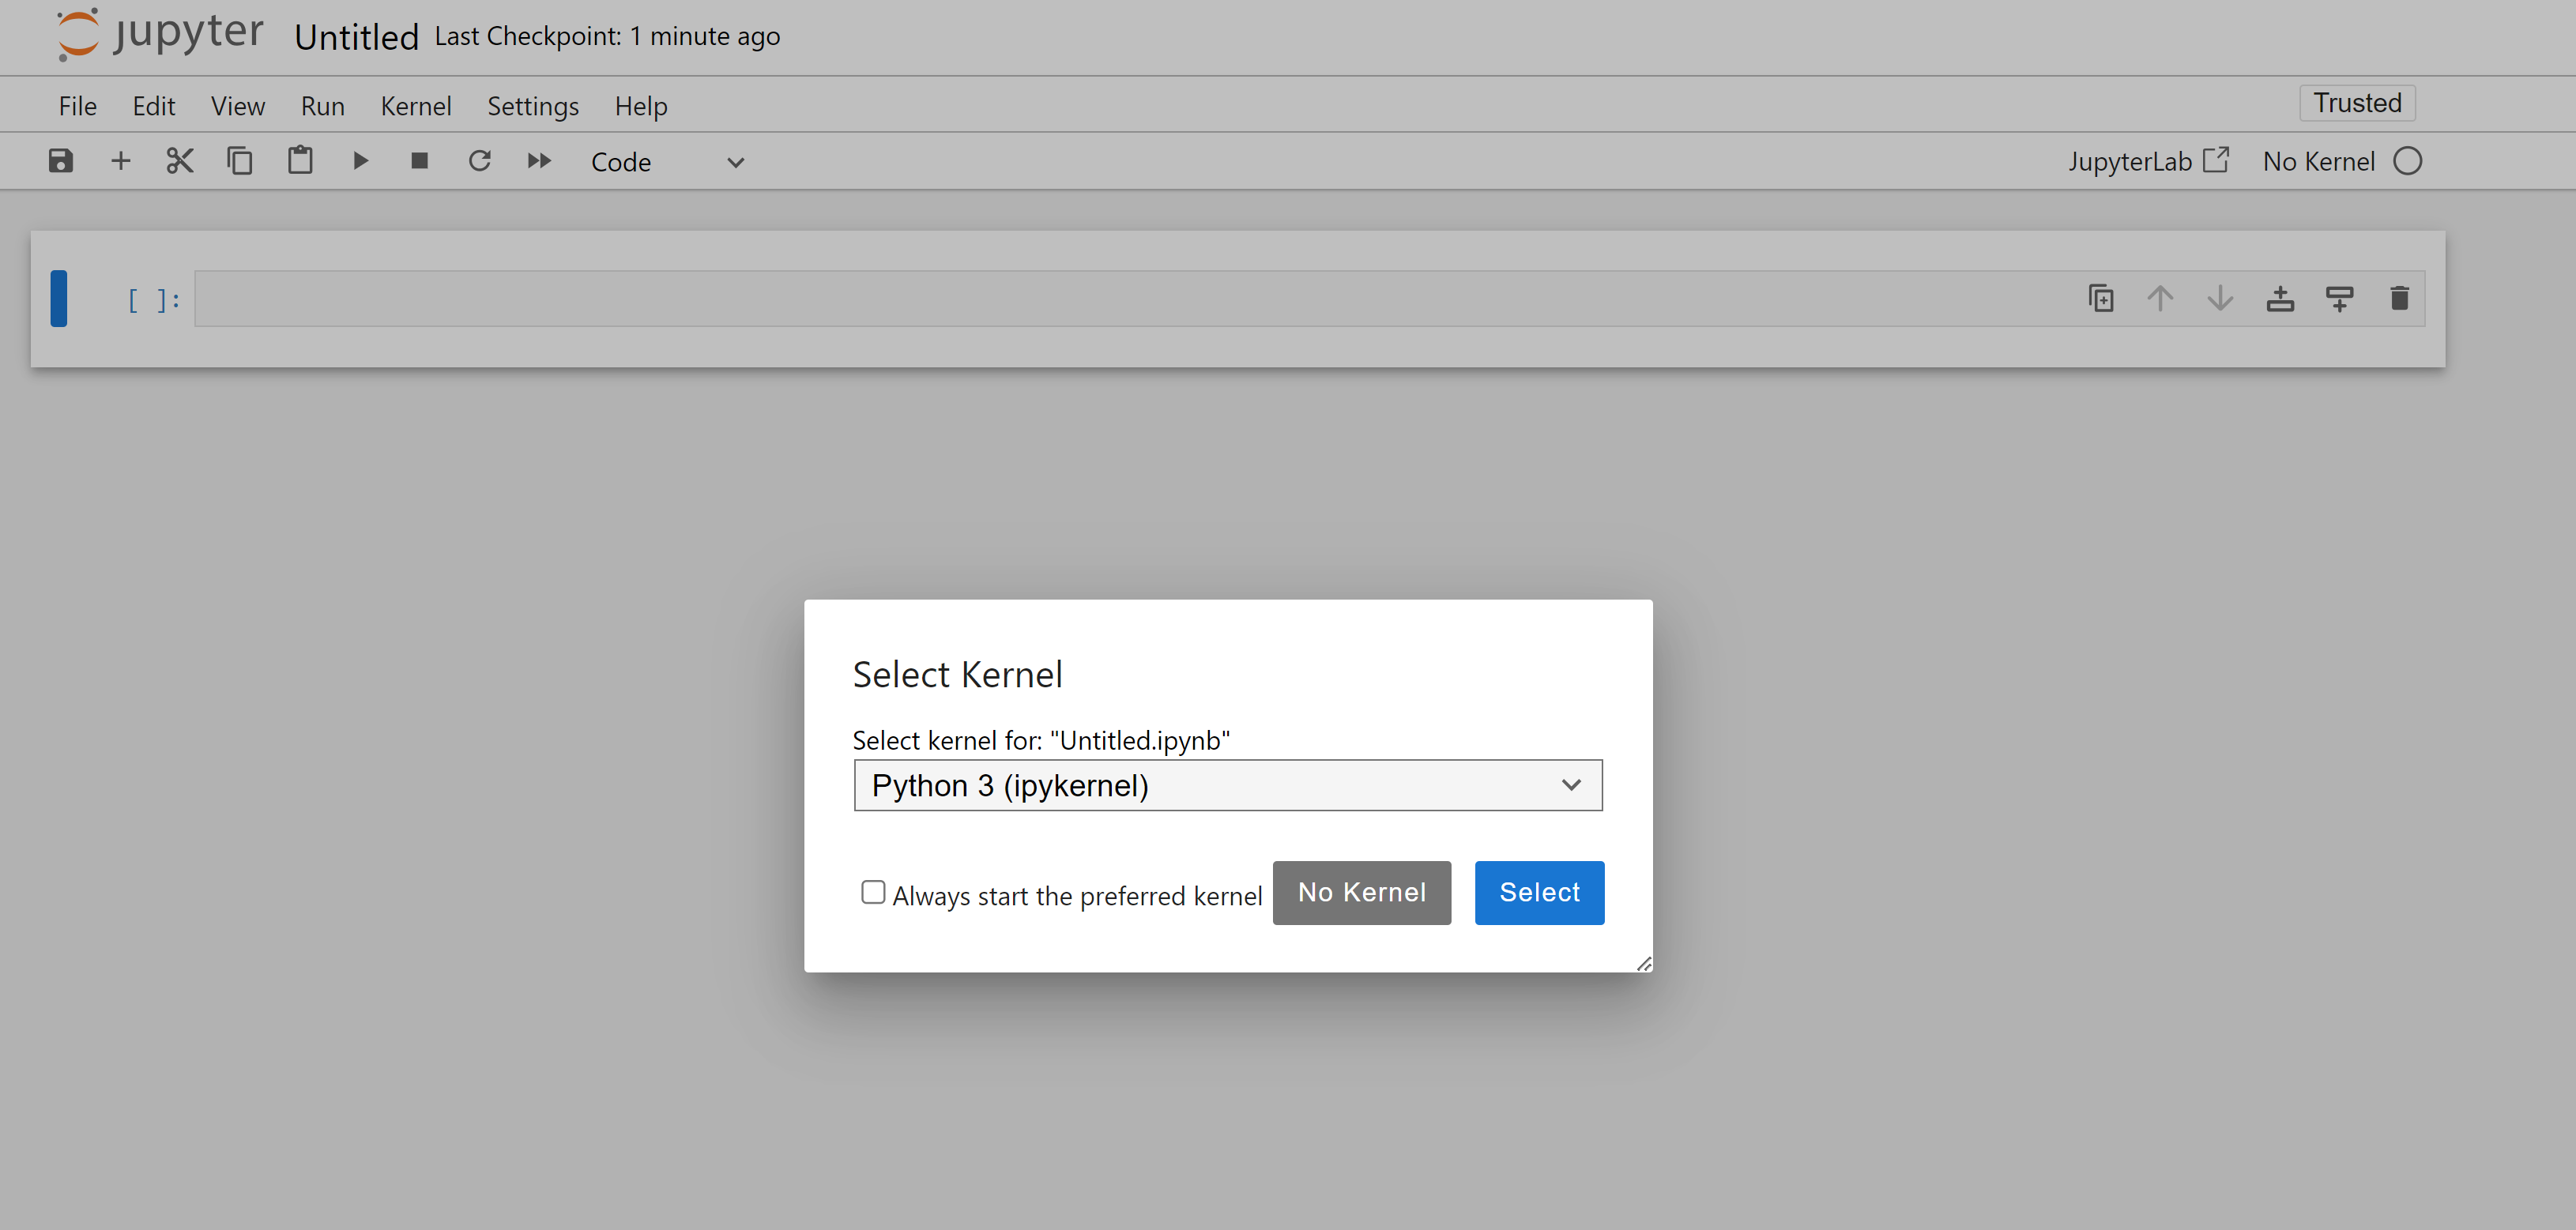
In the new notebook, you can pick the .Net (C#) kernel
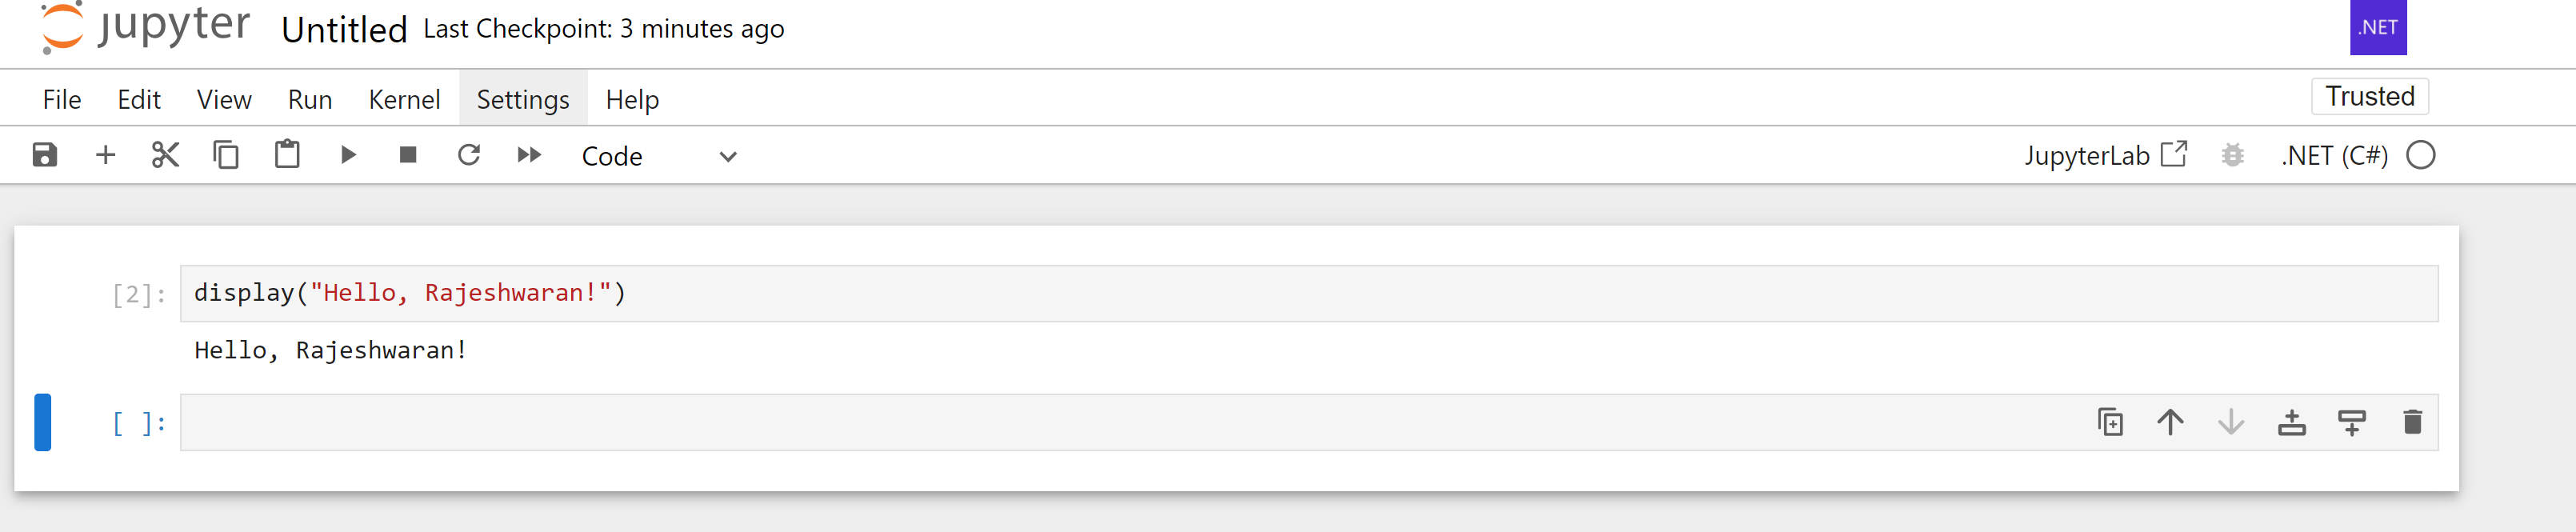
You have a Jupyter Notebook that supports C#

Leave a comment